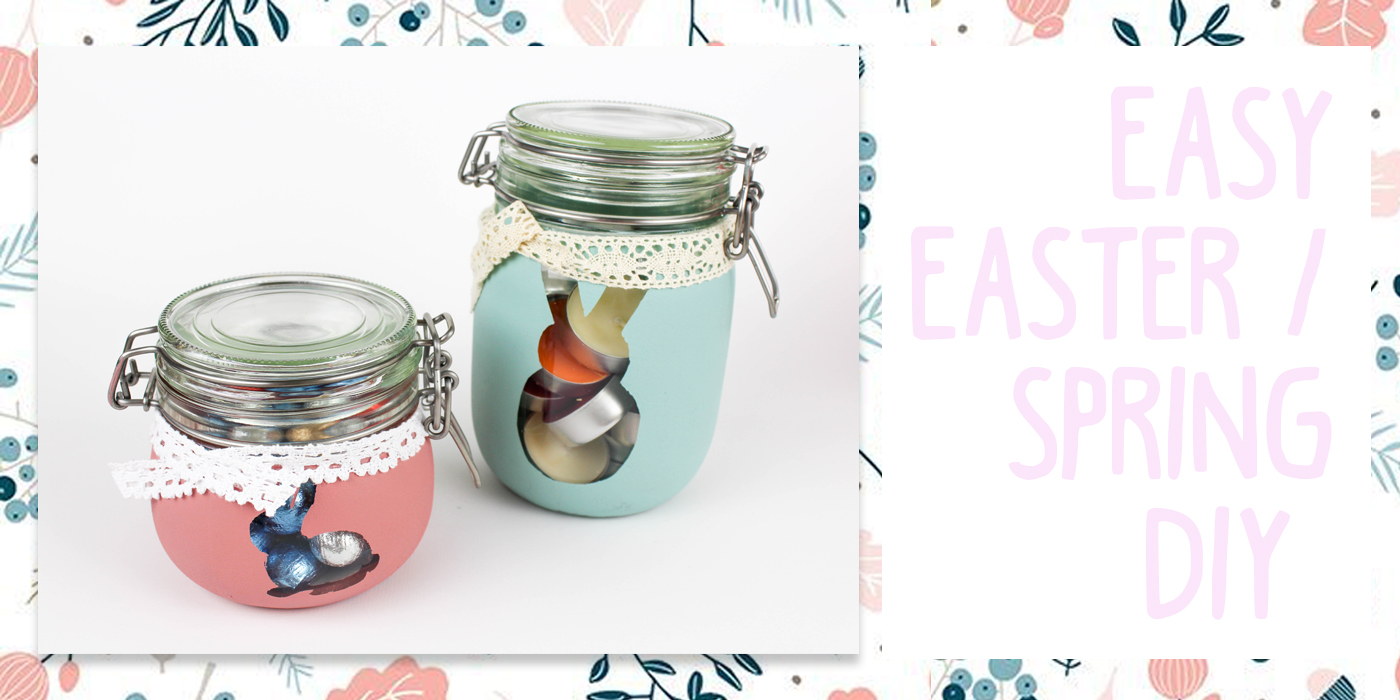
Easy Easter/spring DIY decoration or gift idea
Hi guys, I’m sorry, I’m sorry, I’m sorry. I can’t say that enough. I’m sorry for not uploading, but school is killing me. Anyway, I’m back, with another blog. It might be a little late to fully dedicate it to Easter. But it’s super easy, and you can easily change the Easter part into a spring part. Let’s get into it!
So in today’s blog, I’m going to show you a super easy and quick DIY for your Easter or spring décor. You can even use this as a gift wrapping when you give something small, or you give a gift card or some money.
What you need.
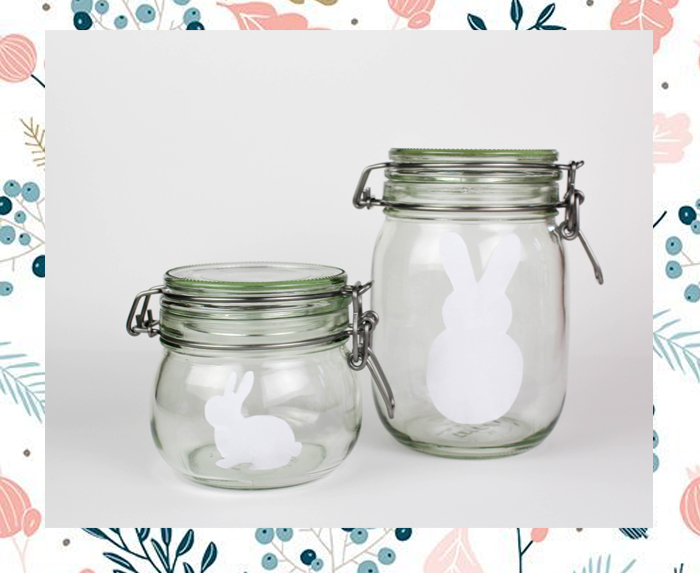
So what you need are jars, pastel paint, Easter/spring stickers and ribbon. 
Let’s DIY
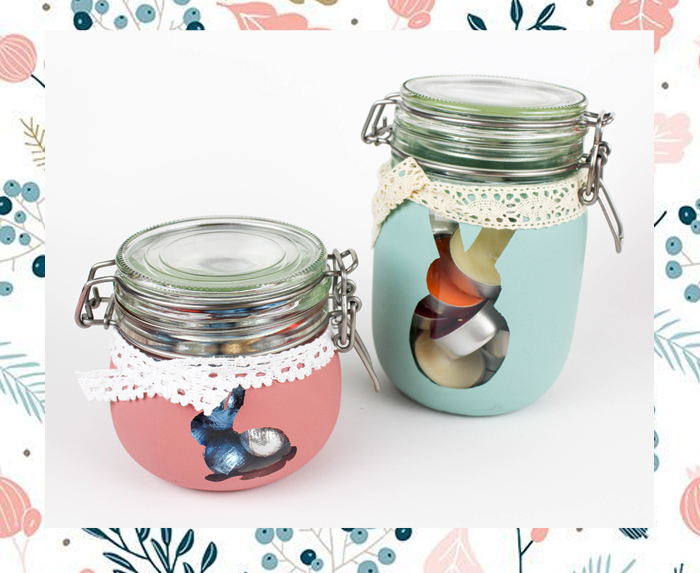
Take the jars and put a sticker from your own choice on it. Make sure it’s sticking to the jar especially near the edge because you don’t want the paint getting underneath it.
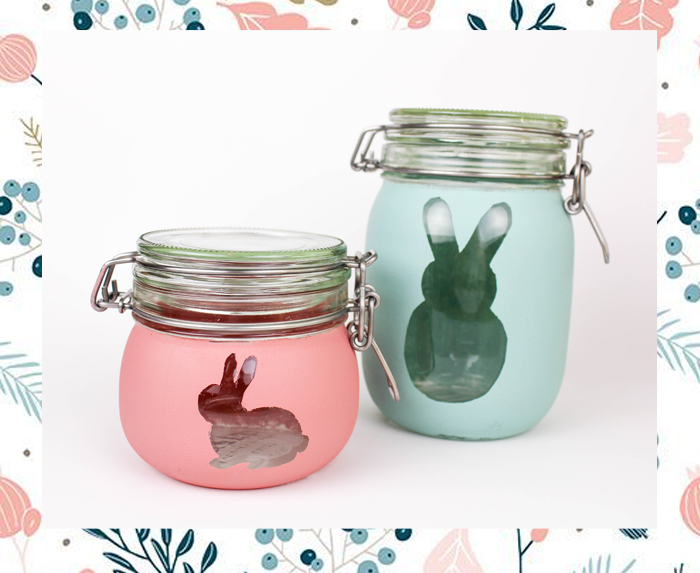
Take your paint and paint the whole jar. You can even paint over the sticker, but I wouldn’t recommend getting a lot of paint on there because that will make the sticker wet and weak which makes it harder to get it off.
Let the paint dry and paint some more on the places where the paint doesn’t cover the jar enough. After painting, and letting the paint dry, pull the sticker off from the jar. If there’s paint underneath the sticker, try to remove it with a little bit of water and a brush.
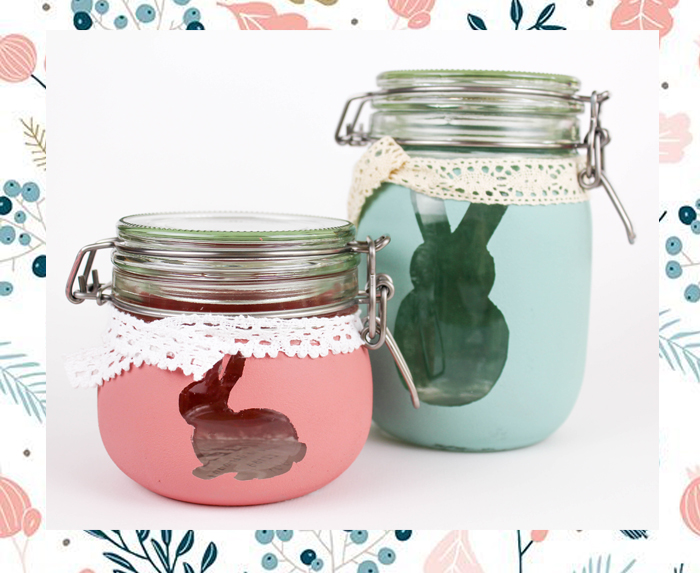
To finish the jar you take the ribbon and put it around the jar at the top an finish it with a cute bow or something else.
Decor
We use this DIY as a décor piece in our living room. We put some Easter eggs in it. It look’s so cute and gives us a spring and Easter feeling in our home.
Gift
You can also use this DIY as a gift because you can easily change the Easter sticker in a flower or a letter or something that the person you are giving this to likes. Fill the jar with anything you like, for example, m&m’s, candles, popcorn, flowers, … Besides the filling, you can add a little bit of money in it or a gift card.
If you recreate this DIY, let me know on Twitter or Instagram! I hope you loved this blog, I try and upload every week from now on. And don’t forget: I’m also on bloglovin
Love
Tine